BGMI Best Drop Spots for Easy Chicken Dinners
Stop landing in the same crowded mess and start hunting where the loot is actually good. Finding the right BGMI best drop location is the single biggest…
 By Swotboysandy3 min read
Ask AI about this guide
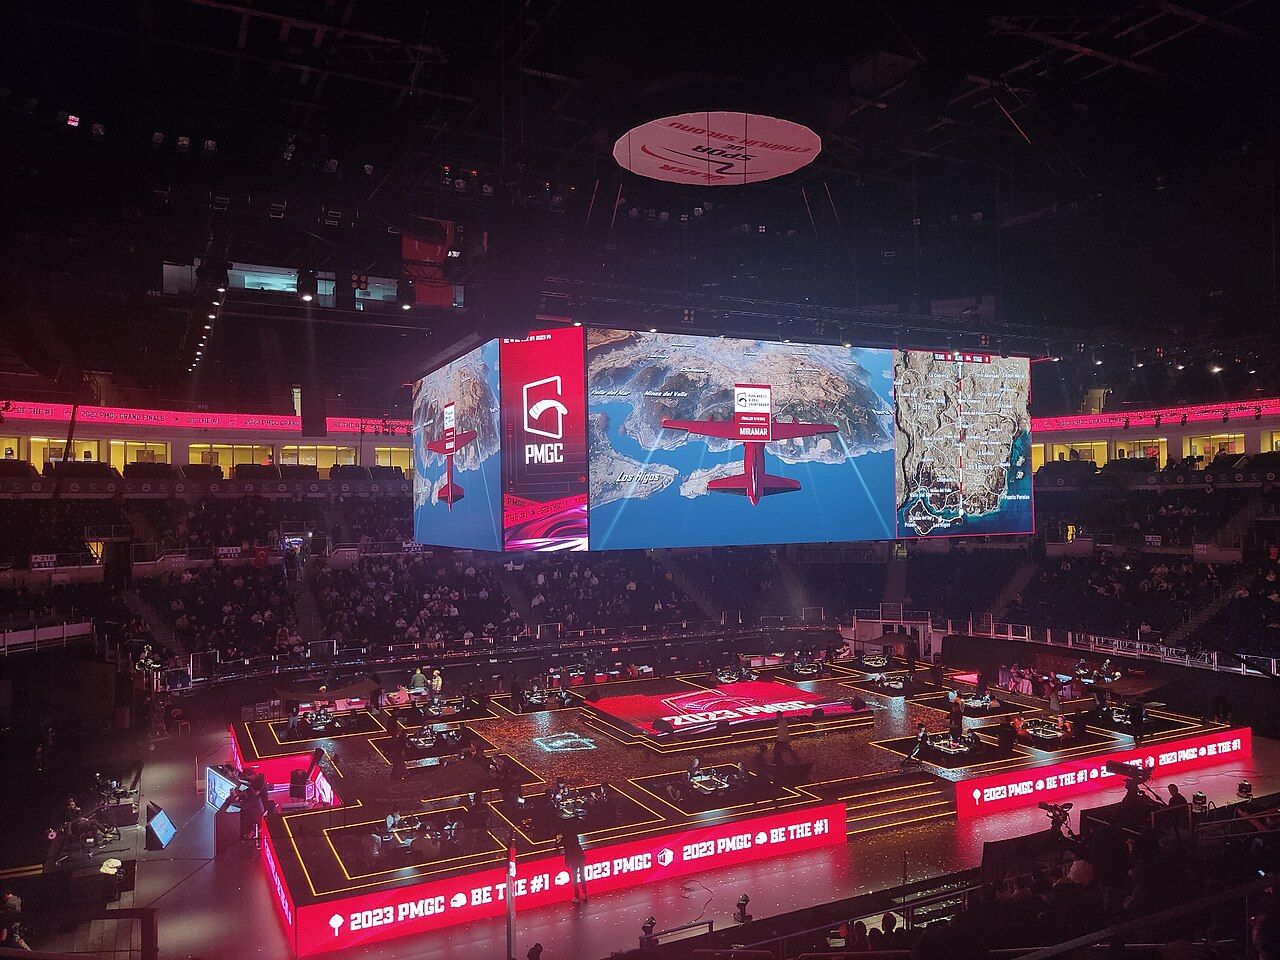
Stop landing in the same crowded mess and start hunting where the loot is actually good. Finding the right BGMI best drop location is the single biggest factor in whether you get a chicken dinner or a quick elimination.
Mastering Erangel: The Classic Mistakes
Most players think Pochinki or School is the only way to go, but that logic is a death sentence in competitive ranks. If you are playing Solo or Duo, avoid the central hotspots unless you are confident in your close-quarters combat. Instead, look at the edges of the first circle. For example, the area around Geopolit is often overlooked because it feels too far from the center, but it offers decent loot and fewer enemies. When you land, do not run straight to the main building. Check the surrounding huts first. They often have armor and medkits, while the main house is usually picked clean by the time you get there. This simple shift in mindset changes your early game survival rate significantly.
Sanhok and Miramar: Speed vs. Range
Sanhok demands a different approach because the map is smaller and the circles shrink faster. Your BGMI map tips here should focus on speed. Avoid dense jungle areas unless you have a sniper and good camouflage. Instead, target open structures like the factory or the hospital. These spots have high-value loot but require you to move quickly. In Miramar, the dynamic is completely different. You need range. Do not drop into the small towns like Pecado or Paradise unless you are a pro. Aim for the larger complexes like the military base or the airport. The loot is spread out, giving you time to rotate. If you are struggling with mid-range fights, Miramar is your best friend. Use the open spaces to your advantage and keep your distance. This is where your aim and movement skills really get tested.
Advanced Technique: The Looting Loop
Here is a technique most intermediate players overlook. Instead of looting one building thoroughly, create a small looting loop. Pick two or three nearby structures and rotate between them quickly. This keeps you moving, which is crucial for avoiding snipers. It also allows you to cover more ground in less time. If you hear gunshots from one direction, you can quickly pivot to the other side of your loop. This method is especially effective in maps like Livik, where the terrain is compact. You can clear a large area in minutes without getting stuck in one spot. It requires good map awareness and quick decision-making, but it pays off in the long run.
Common Mistakes and How to Fix Them
One of the biggest errors players make is ignoring the minimap during the drop. You need to know where the first circle is before you even land. If you drop outside the circle, you are already behind. Another mistake is greed. Do not try to loot every single crate. Focus on the essentials: armor, medkits, and a reliable weapon. Once you have your core loadout, move out. Staying in one spot for too long is a recipe for disaster. Finally, do not underestimate the power of the parachute. Use it to your advantage. If you see enemies landing in a specific area, adjust your trajectory to avoid them. This small adjustment can save your life and give you a head start.
Final Tips for 2026
Practice these strategies in custom rooms or lower-ranked matches before applying them in competitive play. Consistency is key, and the best loot spots BGMI offers are only useful if you can survive long enough to use them.
Making a BGMI montage? See how GamingCap finds your BGMI kills for you.
Keep reading
 Guide
GuidePlan BGMI Clips Around Event Dates Without Chasing Every Trend
Build a small content plan around the start, mid-point and final days of an in-game event: what to record, when to shortlist clips, and how to prepare…
 Guide
GuideBGMI Sensitivity Settings Without Gyroscope
How non-gyro players should approach camera, ADS and fire-button sensitivity: start from defaults, change one scope at a time, test in training, and why…
 Guide
GuideBGMI 90 FPS: Where the Setting Is and Whether to Record at It
Where the frame-rate option sits in BGMI's graphics menu, why it only appears on some devices, and the trade-off between playing at a high frame rate and…