How to Make a BGMI Montage: The Whole Workflow
Recording, finding the moments, cutting to the beat and exporting — the full path from a folder of raw matches to a montage people finish watching.
 GamingCap team3 min read
Ask AI about this guide
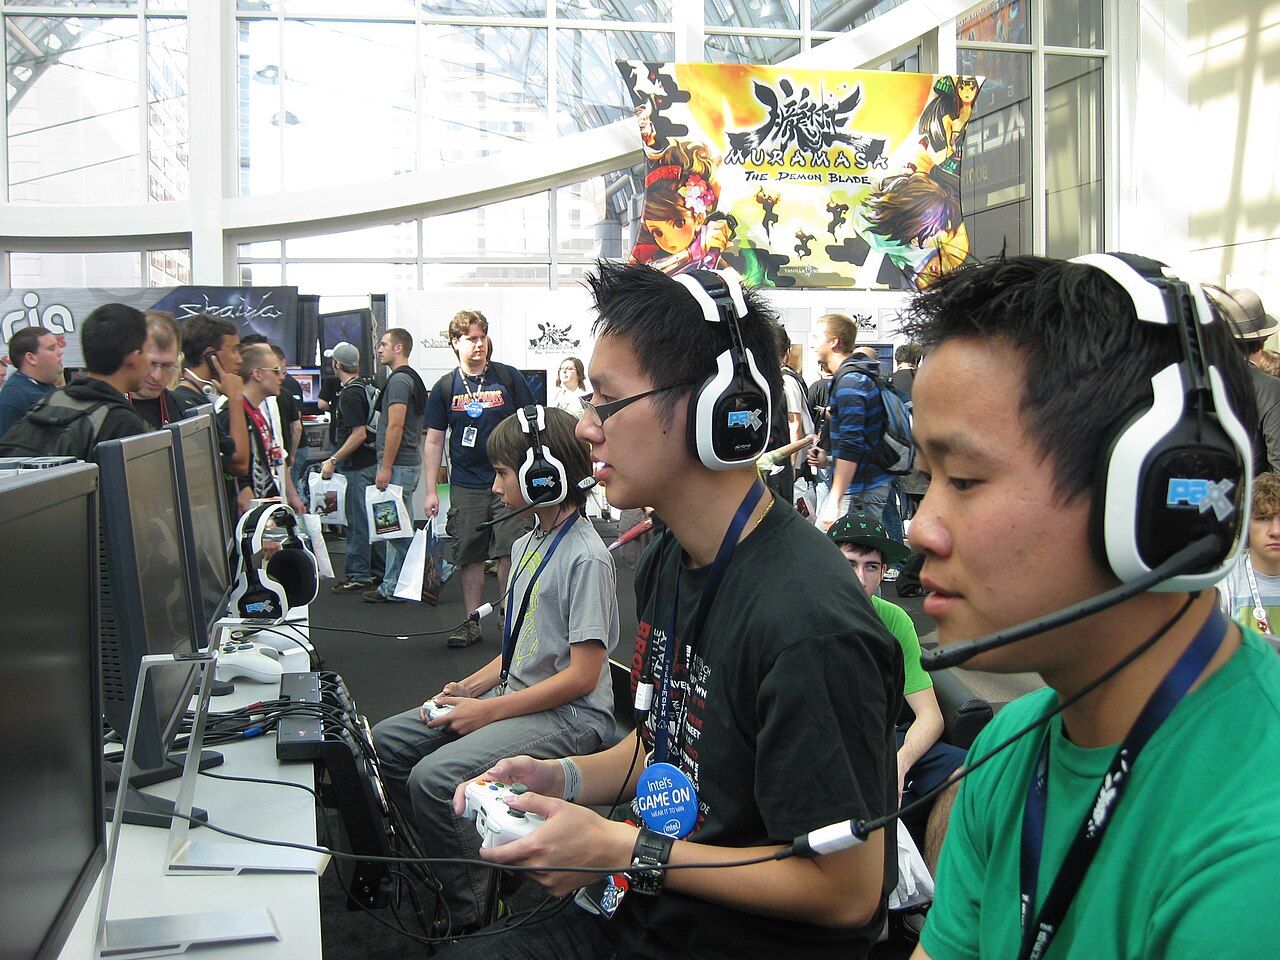
Photo: Alex from Calgary, Canada, CC BY 2.0, via Wikimedia Commons
In this guide
Most BGMI montages die at the same step. Not the editing, not the music — the part where you sit in front of four hours of recordings looking for the twelve seconds that were actually good. People start, get bored, and the project quietly stops.
So it is worth laying out the whole path, because the order matters more than any single trick.
1. Record more than you think you need
The clip you want is almost never the one you knew was coming. Good moments arrive unannounced: a third-party wipe you did not plan, a bad rotation that somehow worked. If you only hit record when you expect something, you will miss most of them.
Record whole sessions. Storage is cheaper than replaying a moment you did not capture.
The trade-off is obvious — you end up with hours of footage, most of it nothing. That is the problem the next step exists to solve.
2. Find the moments before you open an editor
This is where the workflow usually breaks. Scrubbing through a two-hour recording on a timeline is slow, and it is slow in a way that makes you want to stop.
Two approaches actually work:
- Mark as you play. Keep a notepad open and jot the clock time whenever something good happens. Crude, free, and it works — but it needs discipline mid-fight, which is exactly when you have none.
- Let something read the footage afterwards. Elimination feed, kill counter, the moments where the screen tells you something happened. That information is already in the video; it just takes a machine to watch four hours of it patiently.
Either way, arrive at your editor with a list of timestamps, not a folder of raw files. Everything after this is enjoyable. Everything before it is admin.
3. Cut for rhythm, not for completeness
The instinct is to show the whole engagement — approach, fight, loot. Resist it. A montage clip is usually two to four seconds: the moment before impact and the moment after. Everything else is setup nobody needs.
A useful test: if you cut a clip in half, does it lose anything? Usually not. Cut it in half again.
Order matters too. Do not open with your best clip. Open with your second best, put the strongest in the last third, and end on something clean rather than something loud.
4. Match the cuts to the track, roughly
Cutting exactly on every beat gets mechanical fast. What works is cutting near the beat and letting the strong hits land on your biggest moments. The viewer feels the alignment without being able to point at it.
Pick the track before you cut. Editing to a song you swap later means doing the work twice.
5. Export for the platform, not for your drive
A montage that looks perfect locally and mushy on YouTube was exported wrong. The upload re-encodes everything you send, so the goal is giving that encoder clean material to work with — high bitrate, matched framerate, no upscaling from a lower capture resolution.
Vertical crops for Shorts and Reels need to be planned, not rescued. A wide firefight cropped to 9:16 usually loses the thing that made it good.
The step that actually stalls people
Steps 3 to 5 are craft, and craft improves with repetition. Step 2 does not improve — reviewing footage is the same tedium on your hundredth montage as your first, and it is where most unfinished projects sit.
GamingCap exists for that step. It reads recordings you already have and marks the eliminations, so you open your editor with timestamps instead of a scrubber. It does not record your gameplay and it does not sit over the game — it works on the files after the session, which is the part nobody wants to do.
Keep reading
 Guide
GuideCheck the BGMI Kill Feed After an Update Before Making a Montage
Explain why UI scale, language, name styling and event-mode overlays can affect any workflow that reads the kill feed.
 Comparison
Best BGMI Montage Maker Apps Compared (2026)
GamingCap, VN, DaVinci Resolve, CapCut and Medal compared for BGMI kill montages: what each does best, where each falls short, and what it costs.
 Guide
GuideHow to Turn a New BGMI Event Mode Into Better Montage Clips
A timely workflow for learning the new mode, recognising moments worth saving, keeping the player's own eliminations separate and building a coherent…