Valorant PC Settings: High FPS & Low Ping Guide
Stop blaming your aim when your frame rate is tanking. These Valorant PC settings are the baseline you need to hit high FPS and keep your low ping stable.
 By Swotboysandy4 min read
Ask AI about this guide
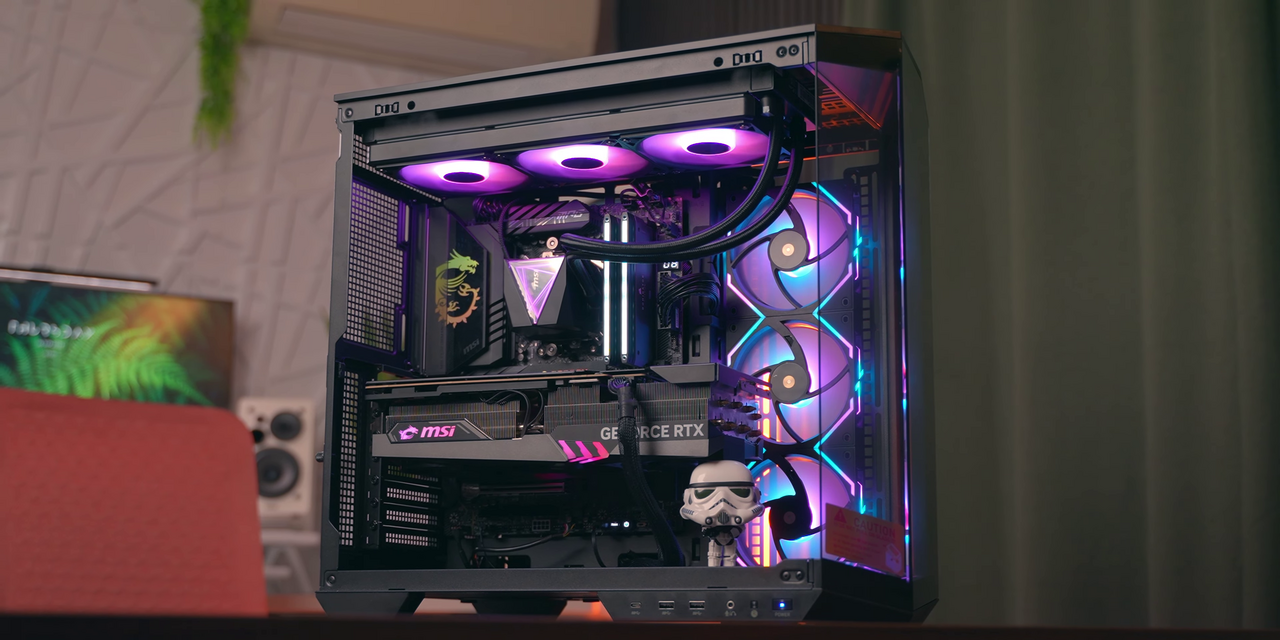
Stop blaming your aim when your frame rate is tanking. These Valorant PC settings are the baseline you need to hit high FPS and keep your low ping stable.
Why Settings Matter More Than You Think
Valorant is a tactical shooter, not a movie. You need every frame to track enemies, not to admire the lighting on a wall. If your settings are too high, you are inviting input lag and stutter that will cost you rounds in Radiant or Immortal.
Recommended Ranges by Playstyle
There is no single "best" setting, but here is where you should start based on how you actually play.
Aggressive (Jett, Raze, Neon): Prioritize maximum FPS. Set all graphics to Low. Disable V-Sync. Turn off Motion Blur. You want the screen to be as clean and fast as possible for quick flicks.
Passive (Sage, Omen, Brimstone): You can afford slightly higher settings if your CPU is struggling. Medium texture quality is fine. Keep shadows off. Your priority is stability over raw frame spikes.
Balanced (Viper, Sova, Chamber): Low to Medium settings. This is the sweet spot for most mid-range players. You get enough visual clarity to spot utility without sacrificing too much performance.
Step-by-Step: Test and Lock In
Do not guess. Test these settings in the Training Range first.
1. Go to Settings > Video. Set Resolution to your native monitor resolution. Do not upscale. It looks blurry and adds input lag.
2. Set Frame Rate Limit to "Unlimited" or your monitor's max refresh rate. If you have a 144Hz monitor, set it to 144. If you have 240Hz, set it to 240.
3. Turn off V-Sync. Always. It adds input lag that makes your crosshair feel like it is moving through syrup.
4. Set Texture Quality to Low. This saves VRAM and keeps your GPU cool.
5. Set Model Detail to Low. You do not need to see the pores on Jett's face to kill her.
6. Set Particles to Low. Smoke and flash effects are the same at Low as they are at High. You do not need extra particles to obscure your view.
7. Set Shadows to Off. Shadows are the biggest performance killer in Valorant. Turn them off. You will not miss them.
8. Set Anti-Aliasing to FXAA. It is the least demanding and looks good enough for competitive play.
9. Set Post-Processing to Low. This reduces the visual noise and helps you spot enemies in smoke.
10. Set Vignette to Off. It darkens the edges of your screen and makes it harder to see enemies in corners.
11. Set Screen Space Reflections to Off. This is a performance killer with zero benefit in competitive play.
12. Set Depth of Field to Off. It blurs the background and makes it harder to see enemies at range.
13. Set Motion Blur to Off. It makes fast movements look smeared and hurts your aim.
14. Set Bloom to Off. It makes bright areas glow and can obscure enemies in light.
15. Set Ambient Occlusion to Off. It darkens corners and makes it harder to see enemies hiding.
16. Set Screen Shake to Off. It makes the screen shake when you shoot, which can throw off your aim.
17. Set Weapon Spread to Off. It makes the screen shake when you shoot, which can throw off your aim.
18. Set Crosshair to your preferred color and size. Test it in the Training Range. Make sure it is visible against all backgrounds.
19. Set Sensitivity to your preferred value. Test it in the Training Range. Make sure you can track targets smoothly.
20. Set DPI to your preferred value. Test it in the Training Range. Make sure your mouse feels right.
21. Set Polling Rate to 1000Hz. This is the standard for competitive gaming. It ensures your mouse movements are registered as quickly as possible.
22. Set Windows Power Plan to High Performance. This ensures your CPU and GPU are running at full speed.
23. Set NVIDIA Control Panel to High Performance. This ensures your GPU is prioritized for Valorant.
24. Set Background Applications to Off. Close any unnecessary programs that are running in the background. They are stealing resources from Valorant.
25. Set Game Mode to On. This optimizes Windows for gaming and reduces background activity.
26. Set HDR to Off. It can cause color shifts and reduce visibility in dark areas.
27. Set Night Mode to Off. It can reduce visibility in dark areas.
28. Set Eye Care to Off. It can reduce visibility in dark areas.
29. Set Blue Light Filter to Off. It can reduce visibility in dark areas.
30. Set Brightness to your preferred level. Make sure you can see enemies in dark areas.
31. Set Contrast to your preferred level. Make sure you can see enemies in dark areas.
32. Set Sharpness to your preferred level. Make sure you can see enemies in dark areas.
33. Set Color to your preferred level. Make sure you can see enemies in dark areas.
34. Set Tint to your preferred level. Make sure you can see enemies in dark areas.
35. Set Gamma to your preferred level. Make sure you can see enemies in dark areas.
36. Set Black Level to your preferred level. Make sure you can see enemies in dark areas.
37. Set White Level to your preferred level. Make sure you can see enemies in dark areas.
38. Set Color Temperature to your preferred level. Make sure you can see enemies in dark areas.
39. Set Dynamic Contrast to Off. It can reduce visibility in dark areas.
40. Set
Making a Valorant montage? See how GamingCap finds your Valorant kills for you.
Keep reading
 Guide
GuideHow to Make a Valorant Montage
Recording Valorant cleanly, finding your rounds with kills, and editing a montage around aces and clutches.
 Guide
GuideValorant Economy Guide: Master Buy Rounds and Saves
Stop wasting your hard-earned credits on a pistol round that was never going to happen. This Valorant economy guide breaks down exactly when to force…
 Guide
GuideValorant Knife Skins Tier List 2026: Best Melee Skins Ranked
Looking for the best Valorant knife skins to flex in every match? Here’s the Valorant melee tier list that separates the show‑stoppers from the “meh” options.