How to Make an Apex Legends Montage
Capturing Apex footage, picking knocks and squad wipes, and pacing a montage around them.
 GamingCap team3 min read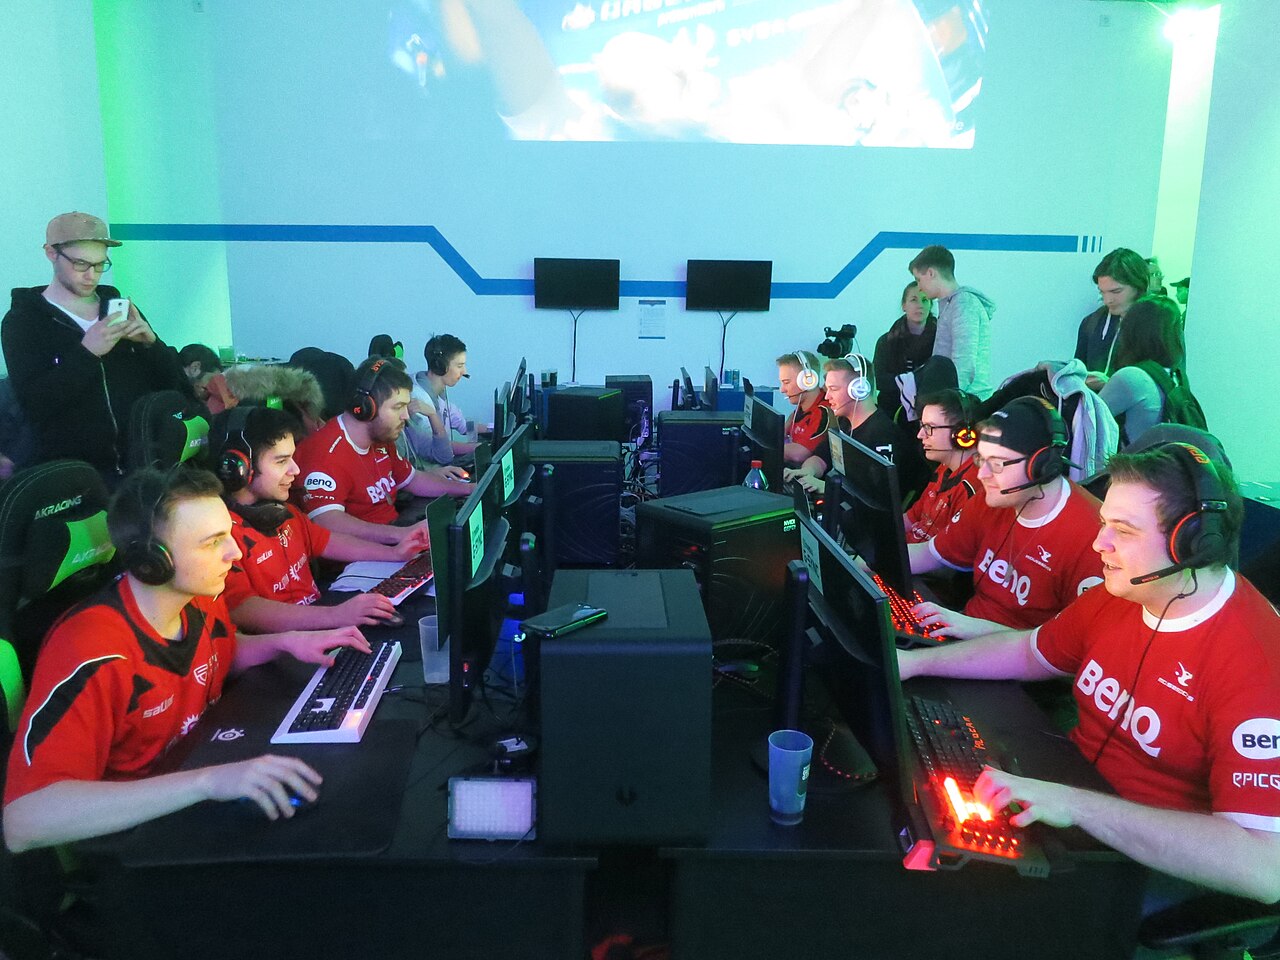
Photo: Alper Çuğun from Berlin, Germany, CC BY 2.0, via Wikimedia Commons
Why most Apex montages fail
An apex legends montage fails when the pacing drags or the highlights are missing. The core problem is that manual review of long recordings is tedious and error-prone. You watch hours of footage to find the few moments where your specific in-game name appears in the kill feed. Most players give up halfway through the edit, resulting in a video that feels disjointed or lacks the crucial squad wipes that define a good run.
The goal is simple: capture the knocks and eliminations that belong to you, specifically. Teammates’ kills do not belong in your personal highlight reel. If the kill feed shows another player’s name, that moment is irrelevant to your montage. This distinction is vital for competitive shooters where squad coordination often blurs individual contributions. You need a method that isolates your performance without requiring you to scrub through every second of the recording manually.
How to identify your kills
The most reliable way to filter your footage is by reading the kill feed. In Apex Legends, the feed displays the weapon icon, the victim, and the killer’s name. A montage clip is valid only if your exact in-game name is present. This rule automatically excludes assists, unless the game counts them as eliminations in the feed, which is rare for pure highlight reels. It also excludes teammate kills, even if you were nearby.
Scanning this manually is the bottleneck. A single match can last twenty minutes, and a full session might include several matches. Watching all of it to spot your name is exhausting. This is where automation helps, but only if the tool is precise. Vague detection that picks up any nearby action leads to a cluttered video. You need a system that confirms the name match before keeping the segment. If the tool cannot verify the name, it should discard the clip. This ensures the final export contains only your direct eliminations.
Exporting the clips
Once the moments are identified, the next step is assembly. Each accepted knock or elimination is typically cut into a short clip, often around ten seconds, to maintain rhythm. These clips are then combined into a single video file. The audio is crucial here; keeping the original game audio preserves the impact of the gunfire and the crowd reactions. Adding music later is optional, but the base footage must be clean.
Processing this on your own PC is preferred by many players for privacy and speed. Uploading large video files to a cloud service takes time and bandwidth. Local processing means the video stays on your machine until you are ready to share it. The export format should be standard MP4, which is compatible with most social platforms and video hosts. You do not need to add titles or effects at this stage. The raw clips are enough. You can add polish in a separate editor if you wish, but the foundation is the sequence of your confirmed kills.
Reviewing and finalizing
Before you publish, you must review the exported montage. No automated system is perfect. Detection can miss moments if the kill feed is obscured or if the name is partially hidden. It can also include false positives if the name appears in a different context. You need to watch the final video to ensure every clip is a genuine elimination by you.
If you find missing moments, you may need to re-process the recording or manually add them. This step is unavoidable. It is the quality control phase. Once you are satisfied that the pacing flows and the highlights are accurate, the video is ready. For those who want to streamline this process, tools like GamingCap handle the initial detection and export. It reads your existing recordings, finds your name in the kill feed, and exports the clips as one MP4. It does not record gameplay or add music, but it saves hours of manual scrubbing. The first 24 hours are free, allowing you to test the workflow on your own files before committing to a subscription. This approach keeps the focus on your performance, not on the editing software.
Keep reading
 Guide
GuideCS2 Frag Movie Basics for First-Timers
What a frag movie is, recording demos versus gameplay, and a simple structure for a first edit.
 Guide
GuideHow to Make a Fortnite Montage
Replay mode versus recordings, finding eliminations, and editing to a beat without overcutting.
 Guide
GuideHow to Make a Warzone Montage From Long Matches
Pulling eliminations out of long Warzone sessions and turning them into a tight montage.