Turn raw gameplay clips into clean highlight reels
GamingCap processes match recordings you already have on your Windows or Mac computer.
 By
Editorial policy and corrections
Ask AI about this guide
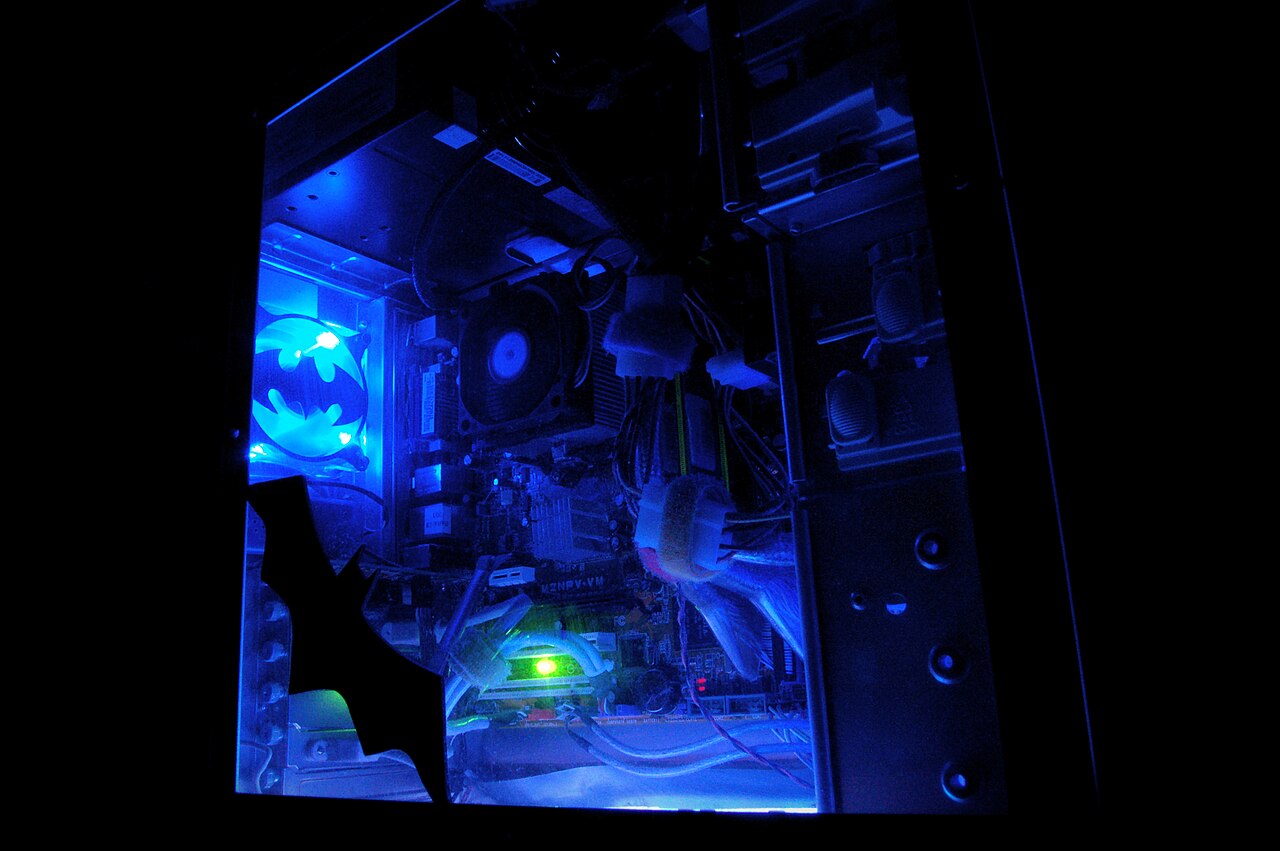
How to extract highlights from existing recordings
GamingCap processes match recordings you already have on your Windows or Mac computer. It scans the kill feed to identify knocks and eliminations involving your specific in-game name, then exports the selected moments as a single MP4 file with original game audio.
Many players record full sessions to review performance or share clips, but manually scrubbing through hours of footage is tedious. You need a way to isolate only the moments where you were involved. This approach focuses on post-session analysis rather than real-time recording, ensuring no additional hardware or in-game overlays are required during play.
Why name-based detection matters for shooter highlights
In competitive shooters like Valorant, CS2, Warzone, or Apex Legends, the kill feed provides the most reliable data for identifying who performed an action. By matching your exact in-game name, the software ensures that teammates' eliminations are excluded from your personal montage. This precision is crucial for maintaining the integrity of your highlight reel, as generic motion detection or audio spikes often capture irrelevant gameplay.
- It works on recordings you have already saved, so you do not need to change your recording setup.
- It processes video locally on your machine, meaning your gameplay data is never uploaded to external servers.
- It provides a 10-second clip for each confirmed knock or elimination, giving enough context to show the lead-up and the result.
This method is particularly useful for games where the kill feed clearly displays player names. If a moment is missed by the detection system, you can skip it, but the tool aims to reduce the manual work of finding every single kill by hand.
The workflow: from raw file to final MP4
The process is straightforward once you have your recordings ready. You load the video files into the application, which then analyzes the footage. For each detected event, you can review the clip. If the moment is worth keeping, you mark it for inclusion. Finally, you export the selected clips into one continuous video file.
- Ensure your match recordings are saved on your local drive.
- Open the application on your Windows or Mac computer and import the files.
- Wait for the analysis to complete, which identifies knocks and eliminations with your name.
- Review the generated clips and select the ones you want to keep.
- Export the montage as an MP4 file with the original game audio.
Note that the application does not add music, titles, or visual effects. It also does not crop the video to vertical formats. The output is a clean, horizontal video containing only the gameplay and audio you selected. This keeps the focus on the action without unnecessary post-production steps.
What to expect from the detection process
While the tool automates the search, it is not infallible. Detection can miss moments, especially if the kill feed is obscured or if the name is not clearly visible. Therefore, reviewing the clips before export is a necessary part of the workflow. You are responsible for the final selection, ensuring that the montage reflects your best performances accurately.
The software processes video on your own PC, which means performance depends on your hardware. Since it does not record gameplay, you must have a separate recording method in place, such as a built-in game recorder or third-party software. The application simply reads the files you provide. Sign-in and access checks require an internet connection, but the actual video processing happens locally.
For players who want to automate the sharing of these highlights, understanding the full pipeline is key. If you are interested in scheduling posts for social media, you might also find our Instagram scheduling guides useful for planning when to share your new montages.
Keep reading
Turn BGMI Kills Into Instagram Reels and YouTube Shorts
Short, vertical and interesting in the first second. How to pick the right kills, fit landscape gameplay into 9:16 without losing the fight, and export.
COD Mobile Recording Settings for Clean Montage Clips
COD Mobile recording settings that preserve detail without filling your storage are the primary constraint for clean montage footage.
How to Turn a New BGMI Event Mode Into Better Montage Clips
A timely workflow for learning the new mode, recognising moments worth saving, keeping the player's own eliminations separate and building a coherent…